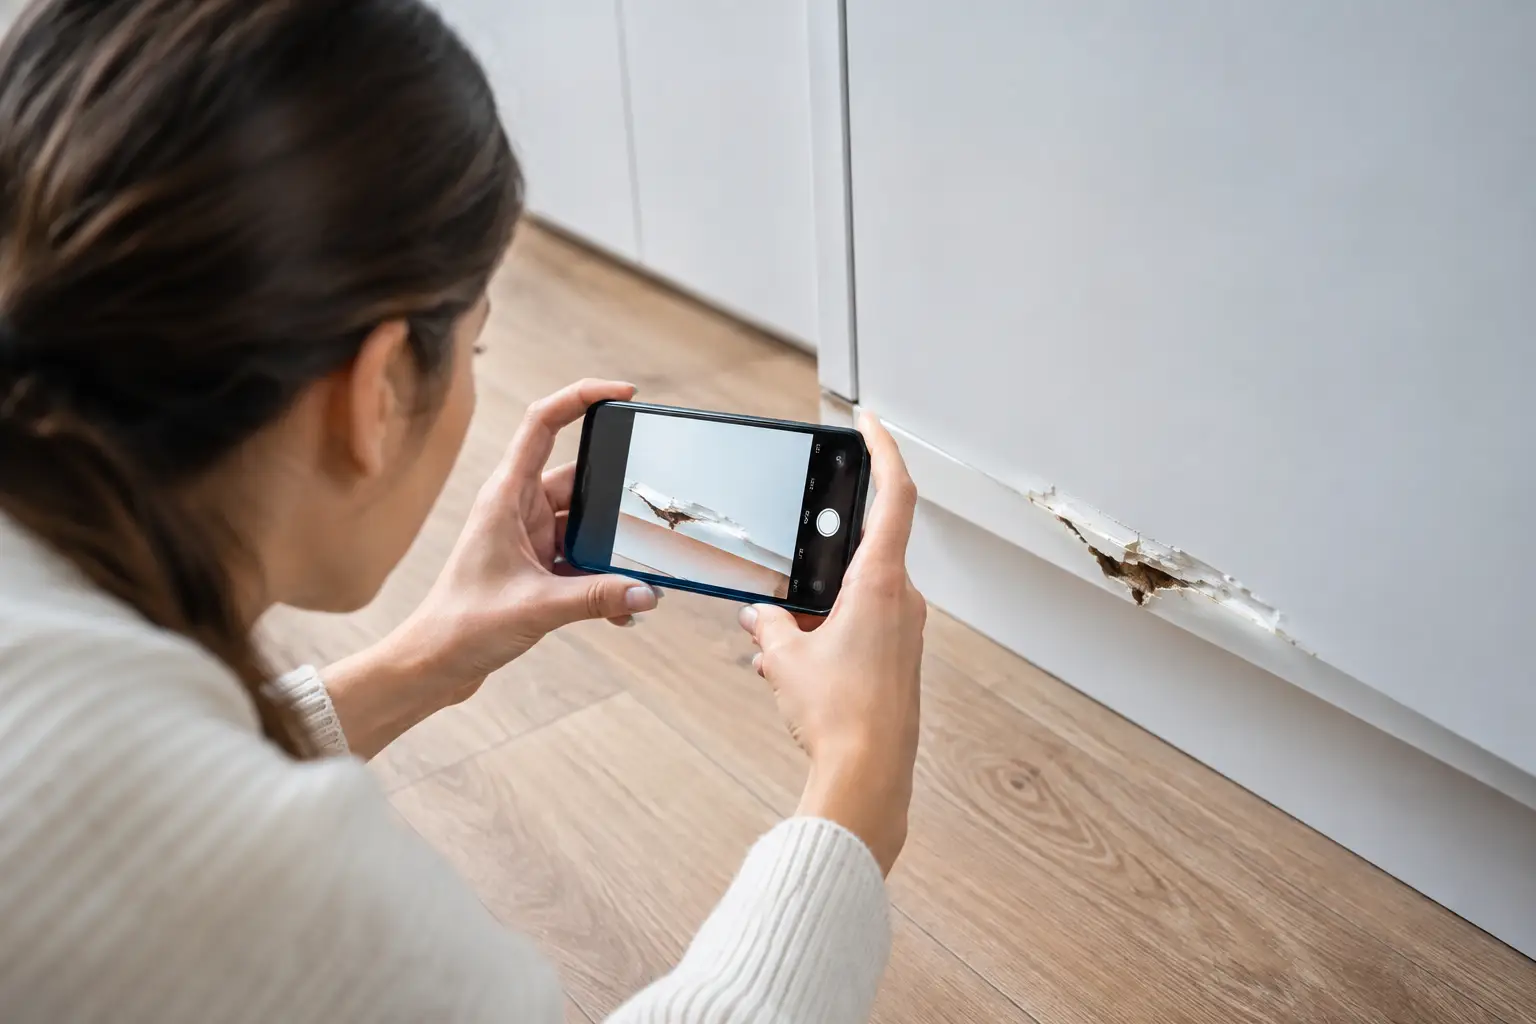
A leaking pipe under the sink, a scorch mark near an outlet, or a crack spreading across the ceiling can be hard to explain. A good photo makes the problem easier to understand before anyone arrives. When you know how to photograph repair damage, you can move from “Something is wrong” to the right kind of help with far less guesswork.
You do not need professional camera skills. You need a few clear images that show what happened, where it happened, and how serious it appears. That gives a service platform or trusted local pro the context needed to identify the likely issue and prepare for the job.
How to photograph repair damage clearly
Start with the photo that shows the full situation. Stand back far enough to capture the damaged item and its location in the room. If water is dripping from a kitchen ceiling, include the ceiling area as well as nearby cabinets, lights, or appliances. If a door will not close, photograph the full door, frame, and floor around it.
This wide shot answers a basic question: where is the problem? It also helps distinguish a small cosmetic issue from damage that may affect surrounding surfaces, fixtures, or systems.
Then take a closer photo. Fill most of the frame with the crack, stain, loose connection, damaged tile, or other visible issue. Keep your phone steady and tap the screen to focus on the damaged area before taking the picture. A blurry close-up leaves too much open to interpretation.
Finally, take one or two photos from another angle. Depth can be difficult to judge in a single image. A side angle can show whether a wall crack is shallow or separated, whether flooring is buckling, or whether a cabinet hinge is bent rather than merely loose.
Use light that reveals the real problem
Clear lighting matters more than a newer phone. Turn on room lights, open blinds, or use your phone flashlight if the space is dim. Aim the light across the damaged surface rather than directly into the camera whenever possible. Side lighting often makes raised edges, dents, warping, and moisture stains easier to see.
Avoid shooting directly toward a bright window or mirror. The damage may turn into a silhouette, while glare can hide the details a pro needs to see. For reflective surfaces such as stainless steel, tile, glass, or glossy countertops, shift your position slightly until the reflection no longer covers the problem.
Color can also provide useful clues. Rust-colored streaks, yellow-brown ceiling stains, black spotting, bubbling paint, or darkened wood may point to different causes. Do not use heavy filters, portrait effects, or editing tools that change the color or texture of what you see. A normal, well-lit photo is more useful than a polished one.
Show scale without obscuring damage
A close-up can make a tiny hole look much larger than it is. Give the viewer a reference point. For many issues, a wide shot plus a close shot is enough. If scale still is not obvious, place a common item nearby, such as a coin, measuring tape, or standard key, as long as it does not cover the damage.
For a damaged wall, include a section of baseboard, outlet cover, or nearby furniture in one image. For a chipped countertop or broken tile, photograph the surrounding surface and then the specific spot. For a damaged appliance, capture the whole appliance, its control panel if relevant, and the affected component.
Do not put objects near an active leak, damaged electrical outlet, hot appliance, or suspected gas issue just to show size. Safety comes first. The photo only needs to be useful, not perfect.
Photograph clues around the damage
The visible damage is often only part of the story. Nearby clues help a professional understand the likely source and what tools or parts may be needed.
For water damage, photograph the stain or leak, the area directly below or above it if safely accessible, and any visible plumbing connections. A photo of the shutoff valve or the appliance involved can help, too. If a washing machine hose is leaking, show the hose connection as well as the wet floor.
For electrical concerns, capture the outlet, switch, fixture, breaker label, or error message from a safe distance. Never remove a cover, touch exposed wires, or take apart a panel to get a better image. If you smell burning, see smoke, notice sparking, or have a hot outlet, turn off power only if you can do so safely and seek urgent qualified help.
For cracks, shifting, or damaged surfaces, show the full area and any changes nearby. A cracked tile next to a loose toilet, a sagging cabinet below a leak, or a gap around a window can tell a more complete story than the crack alone.
What to include for common home repair issues
Different issues need different visual context. You do not need a long explanation, but a few targeted photos can speed up the next step.
For plumbing, show the leak source if visible, any pooling water, the fixture or appliance involved, and the surrounding cabinet, wall, or floor. For an overflowing toilet or active leak, focus on stopping the water safely before taking photos.
For furniture repair or assembly, photograph the entire piece, the damaged joint or missing hardware, and any labels or instruction pages you still have. Include all broken parts in one clear image. This helps determine whether the job needs repair, assembly support, or replacement hardware.
For cleaning or damage caused by a spill, photograph the affected material in natural light. Capture the stain along with a wider view of the rug, upholstery, floor, or countertop. Mention what caused the stain only if you know it. Guessing can send the conversation in the wrong direction.
For doors, windows, cabinets, and drywall, take photos with the item open and closed when relevant. A door that sticks may look normal when closed but reveal a misaligned hinge, swollen edge, or damaged frame when open.
Avoid the photos that slow down repair help
One rushed photo is better than none, but a few common mistakes can make diagnosis harder. Avoid extreme close-ups with no context, dark images, screenshots of images, and photos taken through dirty glass or a foggy camera lens. Wipe the lens first. It takes two seconds and can make a noticeable difference.
Do not zoom digitally unless you have to. Walking closer usually produces a sharper image. Also avoid sending photos that include private documents, mail, family photos, security codes, or identifying information. Move those items out of the frame when possible.
If the issue changes over time, take a new photo. Water stains can spread, cracks can widen, and appliance error codes can disappear. Current images are more useful than photos from weeks ago, especially when a pro is deciding what service is needed.
Add a short note after you take the photos
Your photos do most of the explaining, but one or two facts can make them even more useful. Include when you first noticed the issue, whether it is getting worse, and whether it affects essential services such as water, heat, power, or access to the home.
Keep the note simple. For example: “Water is dripping from the ceiling below the upstairs bathroom. It started this morning and is spreading.” Or: “The outlet stopped working, and the cover feels warm.” You do not need to name the trade or diagnose the cause. The goal is to share what you can see and what you have experienced.
If there is immediate danger, active flooding, fire risk, a gas smell, or a structural hazard, contact emergency services or the appropriate utility provider first. A photo can support the repair process, but it should never delay urgent safety action.
One clear photo can start the right repair
The best repair photos are not complicated. They are bright, focused, and honest about the problem. Capture a wide view, a close detail, and the surrounding clues. Then let the right professional determine what comes next.
With a photo-first service experience like Ono-Fix, that simple step can turn a visible household problem into a clearer path to trusted local help. One photo can be the moment the uncertainty stops.