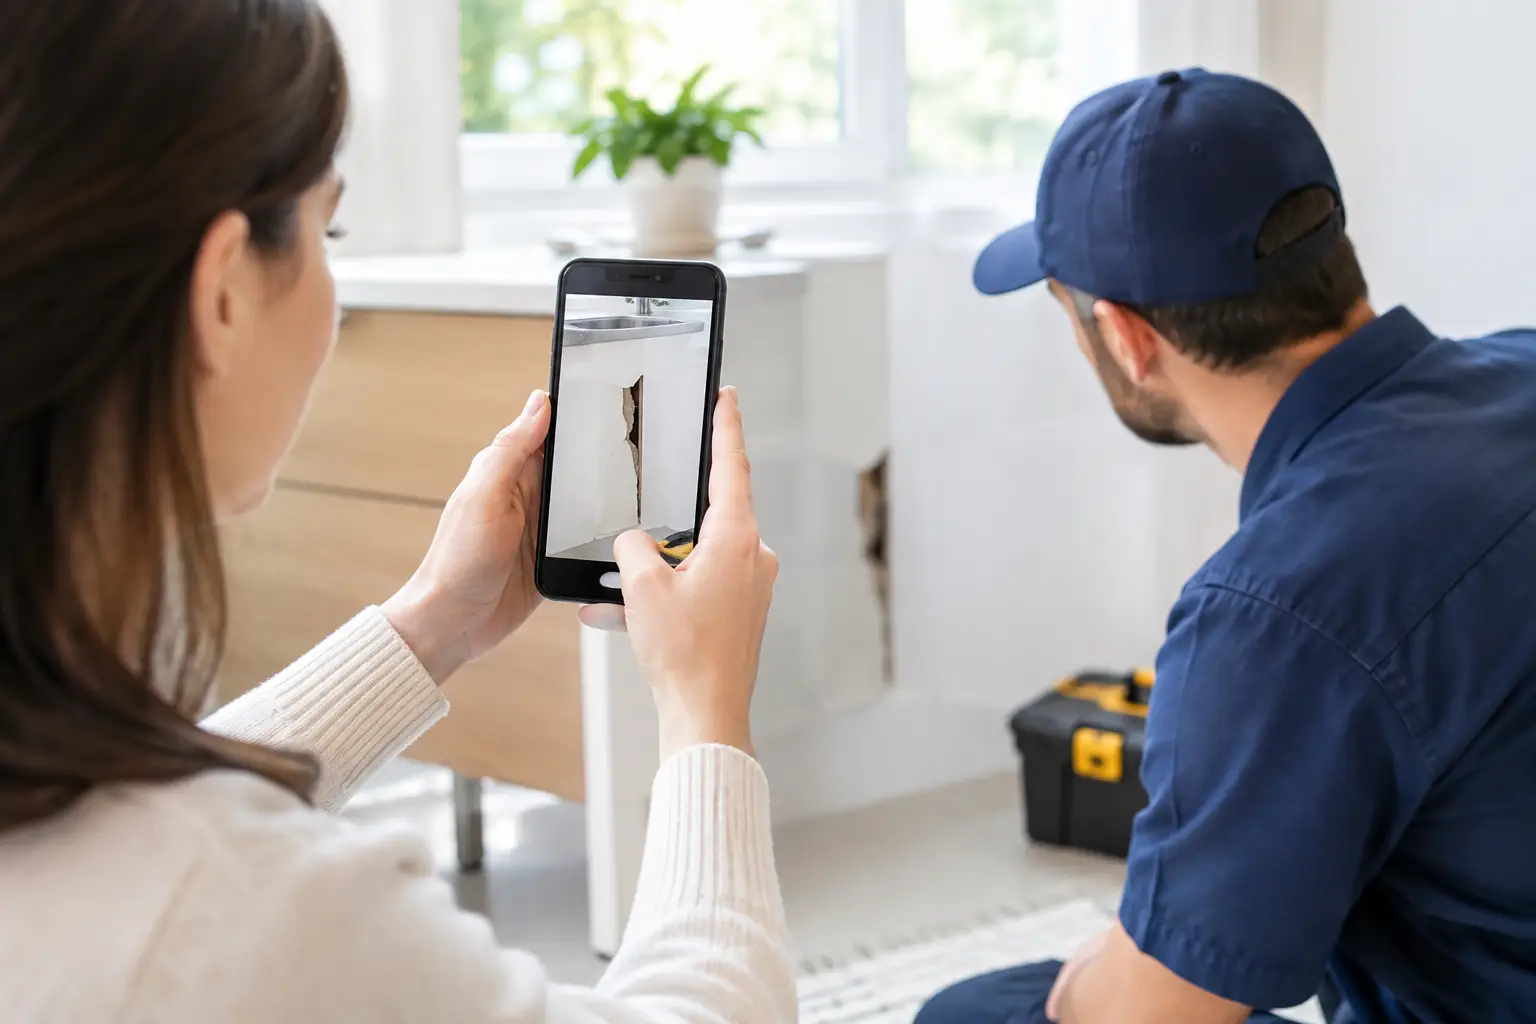
A leaking pipe under the sink, a flickering outlet, or a stain spreading across the ceiling can create the same first question: who do you call? A home repair photo submission guide gives you a simpler starting point. Instead of guessing the trade or trying to describe what you see with the right terminology, take a clear photo of the issue and let the visual details point you toward the right help.
One photo can save time. The right photo can help identify what is happening, show how urgent it may be, and make it easier to connect with a trusted local pro. You do not need repair expertise. You just need a useful view of the problem.
Start With Safety, Not the Camera
Before taking any picture, make sure the area is safe to approach. If you smell gas, see sparks, notice smoke, have a major active water leak, or suspect a structural hazard, do not stop to document it. Move away from danger, shut off water or power only if it is safe and you know how, and contact emergency services or an urgent qualified professional.
For everyday issues, a quick safety check still matters. Keep children and pets away from broken glass, exposed wiring, standing water, or unstable furniture. Do not remove electrical covers, climb ladders, pull apart appliances, or force open a damaged fixture just to get a better image. A clear photo is helpful. A risky photo is not worth it.
How to Take a Useful Home Repair Photo
The goal is not a perfect image. It is enough context for someone to understand what they are looking at and where the issue is located. Natural light is great when it is available, but a ceiling light or your phone flashlight can work well for dark spaces such as cabinets, utility closets, and crawlspace entrances.
Start with one wider photo. Show the full sink, wall, appliance, window, door, or piece of furniture involved. This gives the service professional context. Then take one or two closer photos of the actual problem, such as the corroded pipe joint, cracked tile, damaged cabinet hinge, or stain.
Hold your phone still and tap the screen to focus on the damaged area. Wipe the camera lens first if the image looks hazy. Avoid using extreme zoom, which can make a photo grainy and harder to interpret. Move closer instead, as long as it is safe.
For issues involving a leak, take pictures from more than one angle if you can. Water often travels, so the drip you see may not be the source. A photo beneath a sink, another of the supply lines, and a wider view of the surrounding cabinet can tell a more complete story.
Show Scale and Location
A close-up of a crack may reveal the material, but it may not show whether the crack is an inch long or runs across an entire wall. Include an object for scale when helpful, such as a coin, measuring tape, or your hand held nearby without blocking the issue.
Location matters too. A photo of a loose outlet cover is more useful when it also shows whether it is near a sink, behind a stove, or in a child’s room. The same applies to water damage. A small ceiling stain below a bathroom may point to a different service path than a similar stain under a roofline.
Document What the Photo Cannot Show
Photos are powerful, but they cannot capture every clue. Add a short, plain-language note with your submission. You do not need to diagnose the problem. Describe what changed and what you noticed.
For example, write: “The dishwasher leaks only during the drain cycle,” “This outlet stopped working after a storm,” or “The bedroom window will not lock.” Mention when the issue began, whether it is getting worse, and whether you have already tried anything, such as tightening a loose screw or resetting a tripped breaker.
If a sound, movement, or intermittent issue is involved, a short video may help if the platform accepts it. A rattling HVAC vent, a garage door that reverses unexpectedly, or a washing machine that shakes during spin can be difficult to explain in a still image. Keep the video brief and focused on the behavior.
The Best Photos for Common Household Problems
Different home issues call for different visual details. A few focused shots are better than twenty nearly identical images.
For plumbing concerns, show the leak or stain, the fixture involved, and the pipes or connections you can safely see. Include the shutoff valve if it is nearby. For electrical concerns, photograph the outlet, switch, fixture, breaker label, or visible damage from a safe distance. Never touch exposed wires or open a panel to take a photo.
For appliance issues, capture the appliance’s full front view, the affected area, and any visible error code or model label. A refrigerator that is warm inside, for example, may benefit from a photo of the display, the door seal, and any frost buildup.
For walls, ceilings, floors, windows, and doors, begin with a room-level photo before moving closer. This helps show whether the issue is isolated or part of a broader pattern. For furniture assembly or repair, photograph the full item, the part that is loose or damaged, and any hardware or instruction sheet you still have.
Cleaning requests are easier to route when the photo shows the size and type of area. A close-up of a carpet stain is useful, but include a wider shot of the room if the job involves several rooms, pet-related messes, post-move cleanup, or heavy buildup.
What to Leave Out of Your Submission
A repair photo should protect your privacy as well as explain the issue. Before submitting, check the background for personal paperwork, family photos, medication labels, mail, security codes, or anything with an account number or address. Move items out of the frame when possible.
Do not include faces, especially children, unless they are unavoidable and you are comfortable sharing them. If a house number, license plate, or private document appears in the photo, crop it out. You can still show the repair issue without showing more of your life than necessary.
Also avoid sending images that are too dark, heavily filtered, or covered with circles and arrows. A simple note can explain what you want reviewed. If you do mark an image, keep the original photo available too. Professionals may need to inspect details outside the marked area.
A Quick Photo Checklist Before You Submit
Use this short check before you send your request:
- Take one wide shot and one or two close-ups.
- Make sure the damaged area is in focus and well lit.
- Include scale or nearby context when size and location matter.
- Add a brief note about when the issue started and what it does.
- Remove personal details and never take photos in an unsafe area.
That is enough for most household requests. More images are not automatically better. If several photos show the same thing, choose the clearest one.
From Uncertainty to the Right Local Help
Home repairs get delayed when the first step feels complicated. You may know the faucet is dripping but not whether the job requires a plumber, handyman, or a replacement part. You may see discoloration on a wall but not know whether it is old paint damage, a plumbing leak, or moisture from outside.
A photo-first request changes that starting point. Visual intake gives an AI-powered service platform more context than a category dropdown alone. At Ono-Fix, the aim is straightforward: turn a visible household problem into a clearer service path, then help connect you with the trusted local pro suited to the job.
Still, a photo is an initial assessment, not a final diagnosis. Some problems look similar on the surface and require an in-person inspection to confirm the cause, scope, and price. Hidden plumbing leaks, electrical faults behind walls, mold concerns, and foundation damage are good examples. Clear photos improve the first match and conversation, but a qualified professional should verify the work before repairs begin.
When something in your home needs attention, do not let uncertainty become the reason it waits. Take a steady, well-lit photo, describe what changed, and start with what you can see. One clear image can be the first practical step toward getting your home back to normal.